

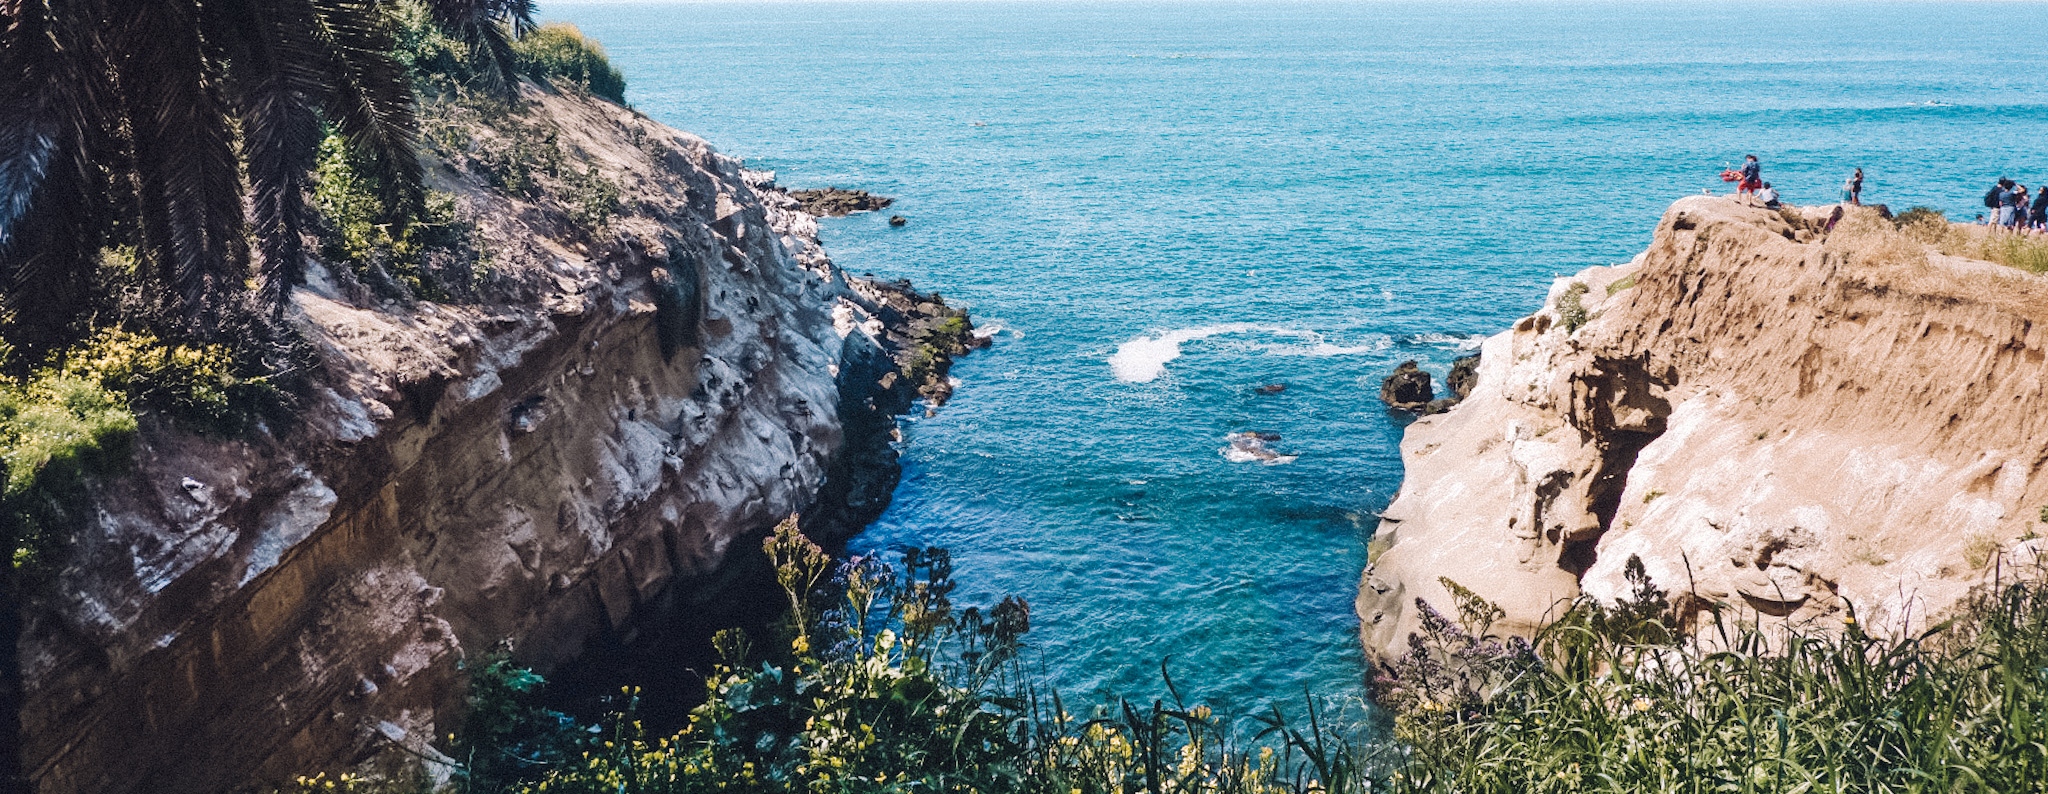
Hiking Tre Cime is one of the best experiences you can have in the Dolomites! These iconic peaks are visible from miles away, and it’s truly surreal to get up right next to them and hike the ridge! It takes a bit of planning to experience them, but it’s worth putting in the work. Here are my top tips for hiking Tre Cime in the Dolomites!


1. Make your parking reservations in advance
Tre Cime di Lavaredo is one of (if not the) most popular hike in the Dolomites. Thousands of people will come out each day to experience the stunning peaks! To help control the crowds, parking at the trailhead must be reserved ahead of time. You can do so by clicking here and then clicking Book. Reserving your parking will give you a 12-hour window on the date you select and is really convenient. You will park at the top of the mountain right at the trailhead (right near the Rifugio Auronzo). Parking is a little steep at €40 per vehicle, but it is the ultimate convenience to not have to worry about long lines and bus shuttles up the mountain.
2. Reserve an early arrival time
When reserving your parking, I’d recommend getting as early of a time as you can! Check the sunrise (and then the “first light”) times and try to arrive around then! I booked my ticket for a 6:30 am arrival time but ended up detouring to Lago di Braies on my way there and didn’t arrive until closer to 9:00 am. By then, it was packed with people! I of course had my reserved parking, so that wasn’t an issue, but the trails were very crowded and I ended up having to wait in line for a lot of photo ops. As with most tourist attractions, arriving early is key for hiking Tre Cime!


3. What to wear
As with any mountain destination, the weather can change quickly! Be prepared by always having different clothing options handy. Layers are key! While hiking Tre Cime, your altitude is pretty high so expect cooler temps than at the base. However, when hiking a mountain and the afternoon sun starts to shine, I warmed up quickly! I started with a jacket and headband, but those quickly were taken off and I was in a dry-fit long sleeve (and there were many times I wished I had a short sleeve shirt!). Hiking boots or sturdy sneakers are a necessity (I rocked by Hoka Clifton 9 and was okay in those!). Sunscreen, sunglasses, and a hat- even if you don’t think you need them! The sun really got me this day and I was thankful to not go home with a sunburn.
4. Tre Cime can be an out-and-back
If you’re pressed for time or aren’t prepared for a moderately difficult hike, hiking Tre Cime as an out-and-back is a great option! The entire loop is about 10 km long (about 6.2 miles) but the second half contains the most challenging terrain. Since I hiked Cadini Di Misurina right before this (more on that hike below), my legs were pretty shot. One option is the make it out to Dreizinnenhütte, a rifugio located here (a little more than half way). The hike out to this spot is generally pretty flat and would be a good turn-around point before the more difficult part of the loop begins.
I made it a little shy of this spot, and turned around about here (~3k from the trailhead). I actually loved turning around and doing the same trail back to get to experience the views from a different angle and it’s a great option if you can’t (or don’t want to) commit to doing the full loop, which on average takes about 4 hours to complete!


5. Adding on Cadini Di Misurina
Talk about a 1-2 punch of amazing hikes! Right next to Tre Cime is the trailhead for Cadini di Misurina. This hike has exploded in popularity over the last few years (thanks mostly to social media), but I can see why! The end of the hike has a short trail up to a spectacular viewpoint that is perfectly aligned with the jagged peaks. This area is actually also known to have inspired Mordor from the Lord of the Rings! The hike is only about 2 miles round-trip so can easily be tacked on before or after hiking Tre Cime. Be warned though- the hike has a lot of inclines and declines and it can take over an hour to reach the viewpoint. And once you arrive there, expect a line to get your iconic photos!
When I arrived, there was maybe 50 people in line ahead of me, but it took over 2 hours for my turn! The trail to the viewpoint is narrow and steep, so only one person or group can go at a time, so the line moved slowly. Again, the earlier you can get here the better to avoid crowds, but it’s so worth it in my opinion!
Traveling soon? Check out my Travel Tips page to help you score good deals on flights, packing tips, tools to help you plan, and more!


No Comments