

Greece vibes, without crossing the Atlantic? You know it! Bruce Peninsula National Park in Tobermory, Ontario is the place to be! A day visit to Bruce Peninsula National Park is a wonderful way to spend a summer day in Ontario. The crystal-clear waters are a spectacular sight to see, and you’ll have to remind yourself that you’re in Canada (and not Greece!). While a fair share of people choose to camp in the park and spend several days, it’s possible to see all the wonder in just a few short hours. Here are my top tips for a day visit to Bruce Peninsula National Park!


1. Make Reservations in Advance and Arrive Early!
Bruce Peninsula National Park is one of the few parks in the Parks Canada system that requires advance reservations! Without a reservation, you cannot enter the park. Thankfully, making a reservation is easy to do.
Click on the link to Parks Canada here. From that page, click on Day Use and Parking (Bruce Peninsula). Then select the date of your visit and the number of people in your party and click search. On the map that will appear, click the icon on the top that says Bruce Peninsula – Parking and then Grotto Parking. Select your type of car and then a matrix of dates and times will appear showing you when parking is available. In the summer months or on holiday weekends, these times book up fast! I recommend making reservations as early as you can, and try to get the 8:00 am slot. The earlier in the day you visit, the fewer crowds there will be and it will be a much more enjoyable experience!


2. Parking & Trails to the Grotto
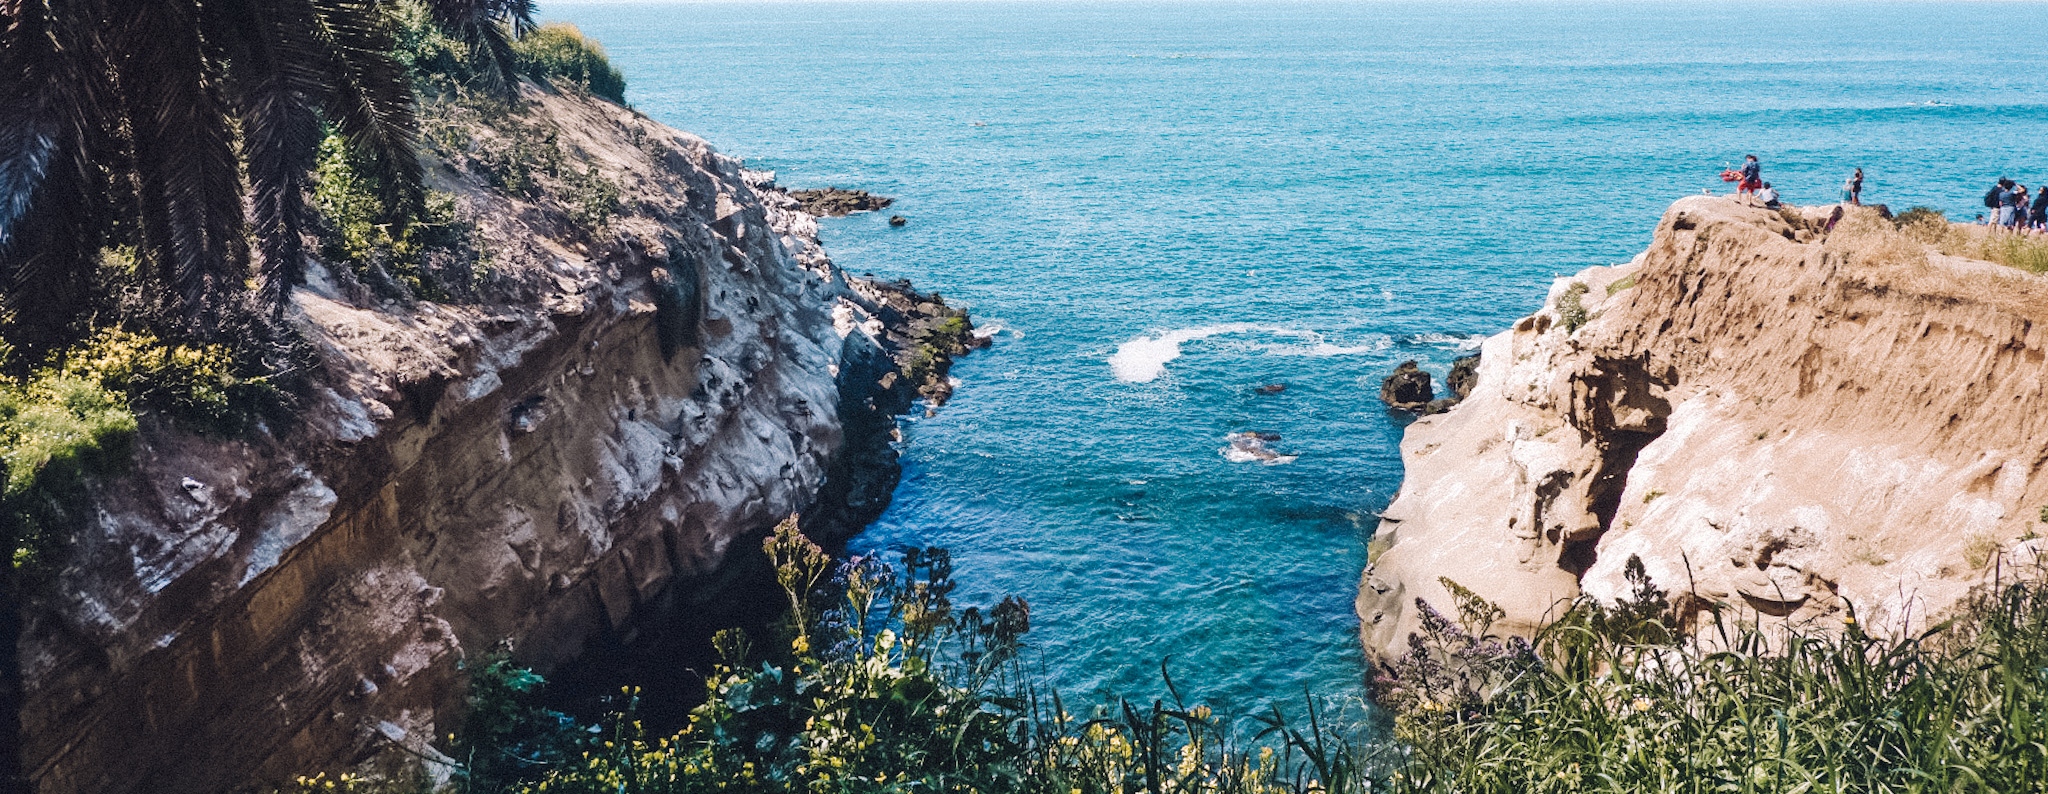
When you arrive for a day visit to Bruce Peninsula National Park, you’ll be directed to the day use parking lot that is located here. While there are plenty of different ways you can spend your day in the park, by far the most famous is hiking to the Grotto. The stunning shoreline will make your jaw drop! To get to the Grotto, you can follow a number of different trails with varying difficulties, but I would recommend the Georgian Bay Trail.
The Georgian Bay Trail is technically a loop trail, but you can also do it as an out-and-back if desired. If you do it as a loop, the entire thing is only about 2.5 miles and generally very flat. It’s considered an easy trail and will take you around the serene and scenic Horse Lake. The most difficult part of the trail comes when you get to the shoreline and want to make your way down to the water. You will have to climb down rocks to the bottom, but it wasn’t as daunting as it looks. There are natural areas that are almost like staircases for easier access to and from the water.


3. What to Expect on the Trail
As mentioned, the Georgian Bay Trail is the easiest way to get to the Grotto. It is relatively flat with only a few gradual incline and declines along the way. The majority of the path is packed dirt with gravel mixed in. There are some parts, as pictured above, where you are walking over large rocks. However they are flat and easy to maneuver on. Just be careful as they do get very slippery!
You’ll also find a handful of benches along the way, as well as compost bathrooms (more on those below!). I spotted a variety of different birds, squirrels, and chipmunk- your basic forest creatures! There is one point here where you will go on a bridge over a lightly flowing stream and small (but certainly flowing) waterfall!


4. What to Wear
The trail from the parking lot to the grotto is not terribly long, but it is still through the woods on gravel and natural floor. Plus, once you get to the grotto, you’ll be walking up and down rocks and will need a good grip on your feet. I’d definitely recommend sturdy sneakers, or even hiking boots.
Even in the summer, keep in mind that this is still Canada. It’s chilly here, especially in the mornings! I’d recommend at least packing a sweatshirt or warmer clothes if the weather looks iffy. The breeze off of the water can also provide a chill so it’s better to be safe than sorry! If you plan on going in the water, definitely wear your swim clothes underneath and don’t forget water shoes (as it’s very rocky!).


5. Bathrooms
The good news is, there are bathrooms along the trail! The bad news is, they’re pretty bare boned. Signs along the trails will indicate where the bathrooms are, and you’ll see buildings like the one pictured above. Inside, there is only a compost toilet and a counter. There is no running water here, so therefore no flushing the toilet or washing your hands. There was a hand sanitizer dispenser on the wall, but it was out during my visit. I’d recommend packing your own, or even wet wipes should nature call. At the head of the trail by the parking lots, there are about a dozen fully operational bathroom stalls. I’d recommend going there before or after your hike instead!
Traveling soon? Check out my Travel Tips page to help you score good deals on flights, packing tips, tools to help you plan, and more!


No Comments